Install a Hard Drive into the Image Bank
[Hier clicken für die Deutsche Version]
This steps are just needed, if you have an Image Bank without hard drive or
you would like to replace the hard drive. If you have some craftsmanship, the
installation shouldn't be difficult to you, maximal 6 steps are needed.
According to Level Electronics, you can built in every 2.5" laptop hard
drive with a maximum high of 12.5mm.
Update 5-18-01: One reader reported problems with a Toshiba 15GB drive, which
uses too much power (700mA).
I'm using an IBM Travelstar (DARA212000) with 12 GB, without any problems.
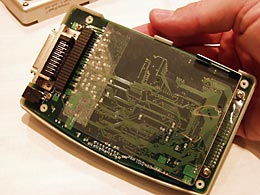
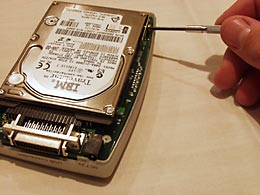
| 1. Open the case Unscrew the four screws. |
|
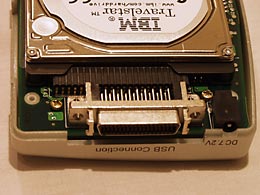
| 2. Insert the 2.5" hard drive The two pairs of "Jumper-Pins" from the hard drive are free/not connected, they are not used. |
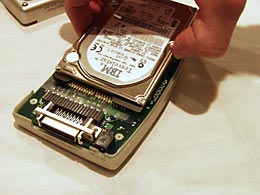
|
| 3. Attach the HD with the case With two screws, attach the hard drive (the screws are part of Sima's Image Bank). |
 |
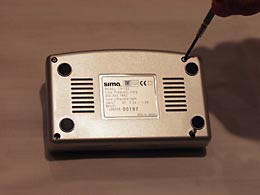
4. Close the case
5. Connect Image Bank via USB to your PC (you have to install the driver during your first connection)
6. If necessary, format the hard drive with the PC
My hard drive (IBM Travelstar) was already formatted - no additional work.
You can format the drive with up to 5 sectors either with FAT16 or with FAT32.
This is important for older PC that do not recognize hard drive larger than 1
GB.
With my Windows 98SE PC, I just use one sector with FAT32.
From that moment on, you can start to copy the content of your memory cards to the Image Bank.
Link to VDH Photo (Belgium): Imagetank Manual, how to install the hard drive (pdf file)
Cheap hard drive reseller in us: Global Micro Inc.
| Chapter: |